Web Design Category
Designing for Trust: How to Build Credibility in Your Website
by Julianna Truitt
Friday, August 8th, 2025
It takes about 0.05 seconds for someone to judge your website. That tiny window decides if they stay or leave. Trust is what makes them stick around.

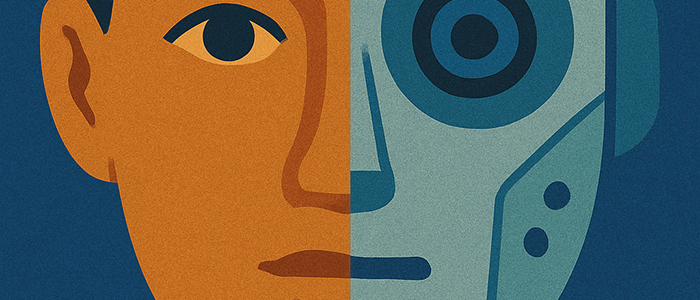
Why Humans Still Matter: The Irreplaceable Role of Human Insight in Web Design
by Julianna Truitt
Friday, July 18th, 2025
AI can now generate layouts, write copy, suggest color palettes, and even analyze user data at speed. Meanwhile, humans use empathy and context to make design decisions.
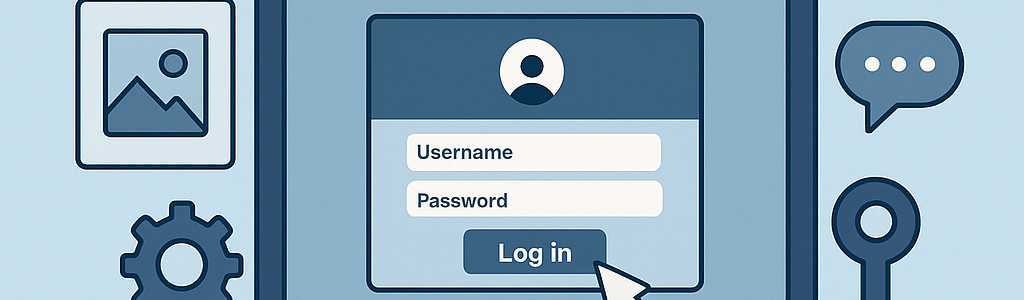
Web Design Approaches to Login Page Design
by Jacqueline Sinex
Tuesday, June 24th, 2025
Many sites and apps today require login access to certain features. It may seem like a low priority on your list, but a great login page design can enhance your customer experience. If you run an e-commerce site, membership subscription site, online magazine, or e-learning website, this article is for you. Some examples I will […]
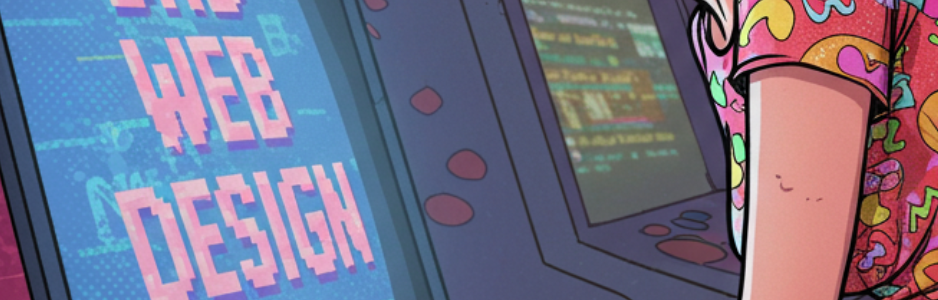
Beyond Pretty Pictures: Why Solid Web Design Matters (More Than You May Think)
by Aimee Johnson
Friday, February 21st, 2025
Let’s be honest, we’ve all been there. You click on a link and BAM! You’re assaulted by a website that looks like it’s straight out of 1998. Tiny, flashing text, a background that clashes with, well, everything, and navigation that’s about as intuitive as a Rubik’s Cube in the dark. You cringe, click the back […
Getting Creative with Your 404 Not Found Page Design
by Jacqueline Sinex
Tuesday, February 4th, 2025
Just because something is common and standard, doesn’t mean it has to be boring. Get creative with custom 404 page design.

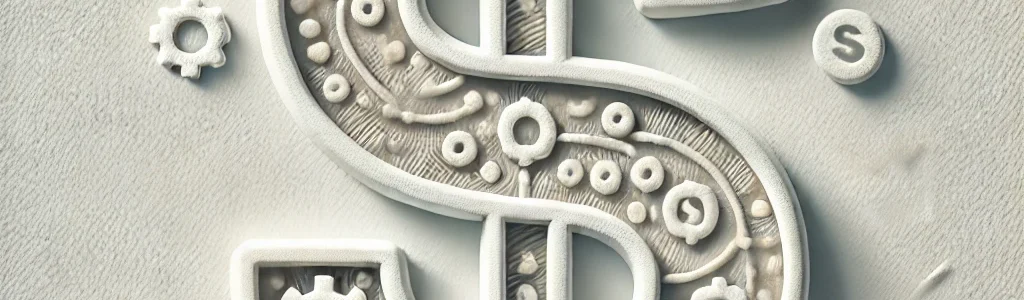
Maximize Your Site Redesign Budget: What Texas Web Developers Need From You for a Cost-Effective Collaboration
by Julissa Guadagni
Wednesday, January 15th, 2025
As a Texas business owner looking to redesign their website, you want to ensure it goes smoothly to avoid going over budget. Here’s what Texas web developers need from you to maximize your site redesign budget.
Top Reasons Why Web Designs Don’t Launch
by Jacqueline Sinex
Thursday, June 13th, 2024
Despite how truly exciting designing a new website is, many people find it overwhelming. Even the smartest marketing leaders experience frustration at the time it takes to finish their web design project, feeling like there is no end in sight.
The Power of Intentional Website Branding
by Aimee Johnson
Monday, February 19th, 2024
At first, incorporating branding into your website might seem like a straightforward task. Still, there are many subtle ways that branding can, and should, be incorporated into your company’s website that might not immediately come to mind.

Latest & Greatest
- The Evolution of Driving Schools From Classroom Instruction to Mobile-First E-Learning Apps
- How to Write Website Copy That Helps You Rank on Google
- Different Ways to Insert a Contact Form on Your Website
- From Contact Forms to Conversational AI: The Evolution of Website Communication
- How Many Plugins Should a WordPress Site Have?
- How to Prepare Your Website Content
- How to Fix Common Website Bugs