How To Category
How to Write Website Copy That Helps You Rank on Google
by Aimee Johnson
Thursday, April 9th, 2026
If your copy doesn't actually answer the questions your customers are asking, Google won't rank it, and your visitors won't trust it. Let's break down what SEO-friendly copy actually looks like and how you can write content that finally gets you noticed.
How to Prepare Your Website Content
by Aimee Johnson
Monday, November 10th, 2025
The better prepared your content is for your web developer, the faster your project will progress. But you may be wondering exactly what preparation means when it comes to content and images.

How to Recover a Broken Website
by Jacqueline Sinex
Tuesday, September 9th, 2025
While there are several possible causes for a website malfunction, site owners always need a quick solution to bring it back online. Learn about possible causes and how to recover a broken website.

Unlocking the Power of User-Generated Content
by Aimee Johnson
Monday, May 5th, 2025
There are many types of user-generated content, and what you choose to focus on depends on your business, your audience, and your goals. Dive into what user-generated is and why it might be helpful to your website and business.

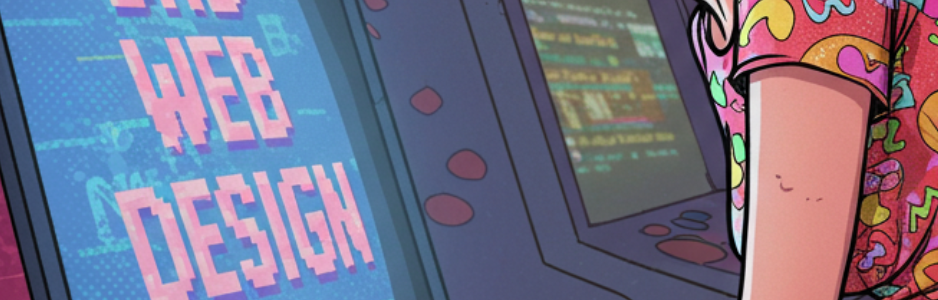
Beyond Pretty Pictures: Why Solid Web Design Matters (More Than You May Think)
by Aimee Johnson
Friday, February 21st, 2025
Let’s be honest, we’ve all been there. You click on a link and BAM! You’re assaulted by a website that looks like it’s straight out of 1998. Tiny, flashing text, a background that clashes with, well, everything, and navigation that’s about as intuitive as a Rubik’s Cube in the dark. You cringe, click the back […
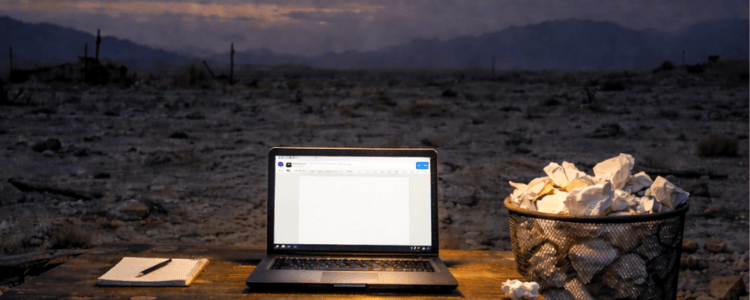
How to Stay Connected in a Remote Work Environment
by Megan Marshall
Tuesday, April 25th, 2023
Many businesses have transitioned into remote and hybrid settings in recent years. This is, in part, due to the pandemic altering life as we knew it. But plenty of groups had already decided to make this leap, given how increasingly digitized our world has become. Business owners have found that a remote work environment means […]

How to Create an Effective How-To Guide
by Megan Marshall
Tuesday, March 21st, 2023
Every day, it is the goal of businesses to prove themselves to their audiences. But that proof doesn’t solely come from making high-quality products and services. It also matters whether you are capable of displaying your business as an expert in your industry. Consumers will ultimately take you more seriously and be more trusting of […]

How to Deal with Workplace Burnout
by Megan Marshall
Friday, October 21st, 2022
Achieving career goals is an exciting thing. And those accomplishments may come as a result of you working around the clock. You dedicate so much of your life to making a name for yourself within your business or industry at large. It feels incredibly empowering to reach those high points in your career. But as […]

Latest & Greatest
- The Evolution of Driving Schools From Classroom Instruction to Mobile-First E-Learning Apps
- How to Write Website Copy That Helps You Rank on Google
- Different Ways to Insert a Contact Form on Your Website
- From Contact Forms to Conversational AI: The Evolution of Website Communication
- How Many Plugins Should a WordPress Site Have?
- How to Prepare Your Website Content
- How to Fix Common Website Bugs